
Elevator Accessories OTIS Original Stainless Steel Round Button Hairline Mirrored Rose Gold Buttons BR27C
-
Highlight
Hairline mirrored stainless steel round button
,BR27C stainless steel round button
,OTIS original stainless steel round button
-
BR27CSULAB
-
DescriptionElevator Button
-
ModelBR27C
-
MOQ1PC
-
TransportionTNT, UPS, DHL, Fedex, Air, Sea
-
ApplicableElevator
-
PackagesCarton, Wooden Case, Pallet Etc
-
Delivery TimeNormally 2-3 Working Days After Payment
-
WarrantyOne Year
-
Payment MethodCompany Bank, Western Union, Alibaba, Paypal Etc
-
BrandSulab
-
DescriptionElevator Parts
-
ModelFB-9B
-
Brand NameOTIS
-
Model NumberBR27C
-
Minimum Order Quantity1pcs
-
Delivery Time5-8
-
Payment TermsL/C,D/A,T/T,D/P,MoneyGram,Western Union
Elevator Accessories OTIS Original Stainless Steel Round Button Hairline Mirrored Rose Gold Buttons BR27C

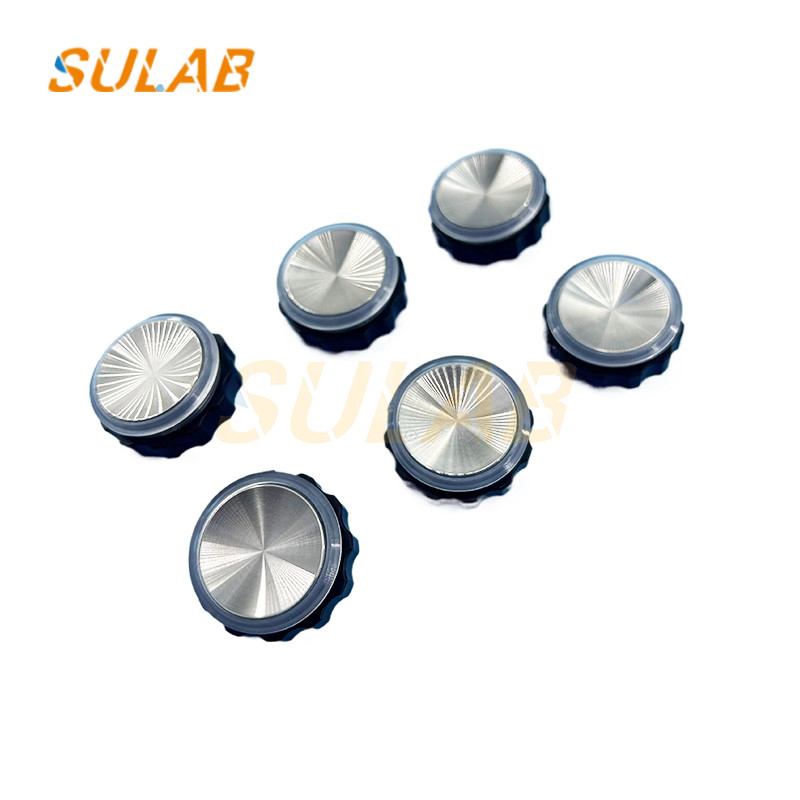
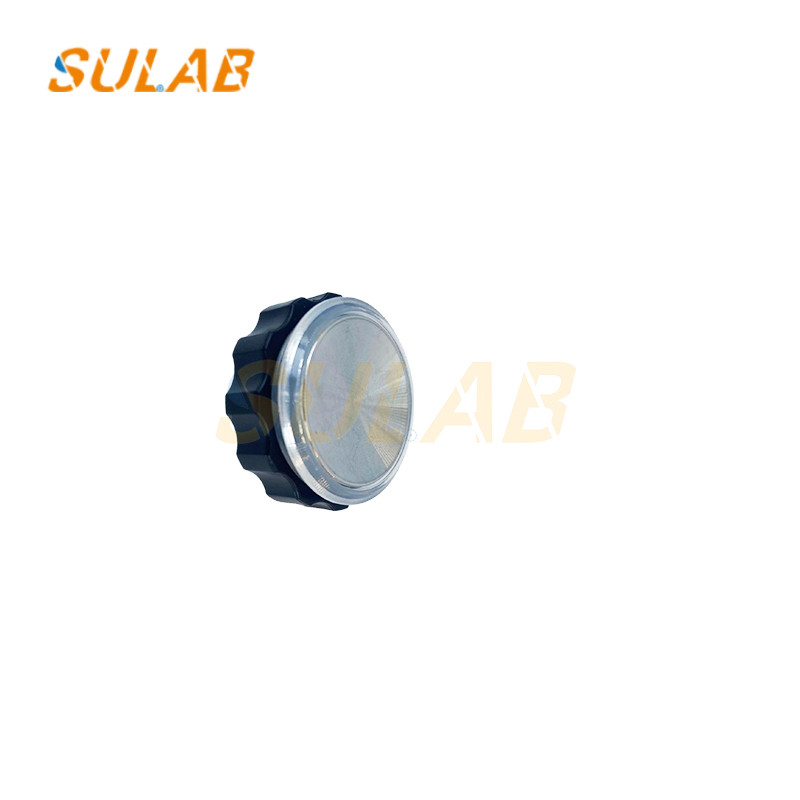
Elevator accessories OTIS original stainless steel round button Hairline mirrored rose gold buttons BR27C
Installation steps
Pretreatment of the installation location
Cleaning the surface: Clean the wall or panel surface where the button is installed, remove dust, debris and oil, etc., to ensure that the surface is flat and smooth.
Check the flatness and firmness: Check whether the wall or panel at the installation location is flat. If there is unevenness or instability, it needs to be repaired or reinforced to ensure that the button will not shake or tilt after installation.
Install the button body
Place the button: Place the button at the predetermined installation location so that the button is flush with the wall or panel. Pay attention to the correct direction and position of the button.
Determine the drilling position and size: According to the design requirements of the button, use tools such as rulers or templates to determine the location and size of the drilling hole, and mark it.
Drilling: Use an electric drill to drill according to the marked position. When drilling, pay attention to keeping the drill bit perpendicular to the wall or panel to avoid tilting the drilling.
Insert and tighten the button: Align the fixing hole of the button with the drilling hole, gently insert the button, and then use tools such as screwdrivers or wrenches to tighten the fixing nut to firmly fix the button on the wall.
Check stability: After installation, shake the button gently to check whether it is firmly installed and whether it is loose. If it is loose, it needs to be re-tightened.
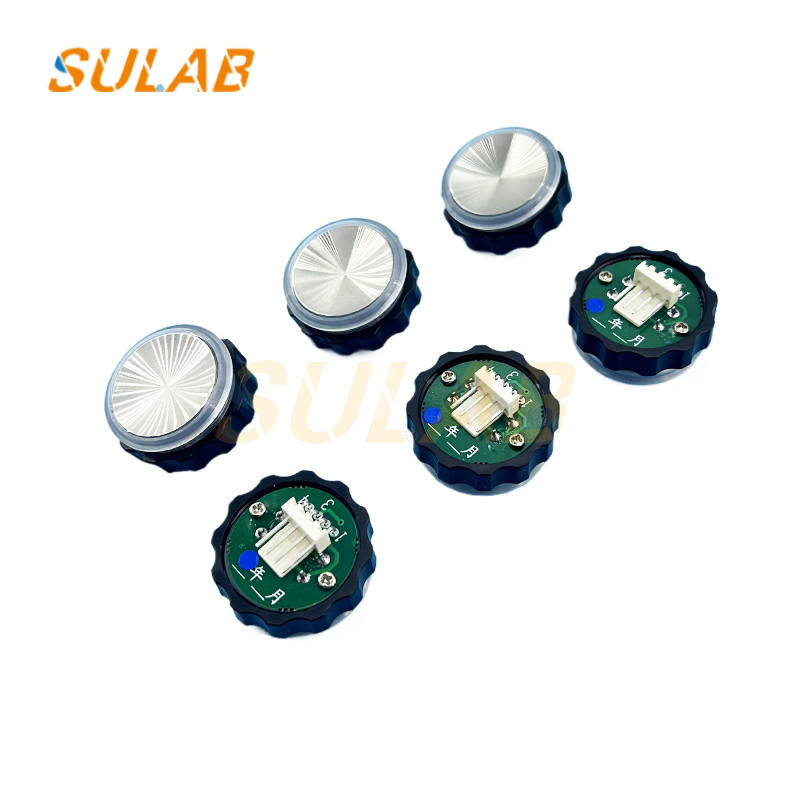
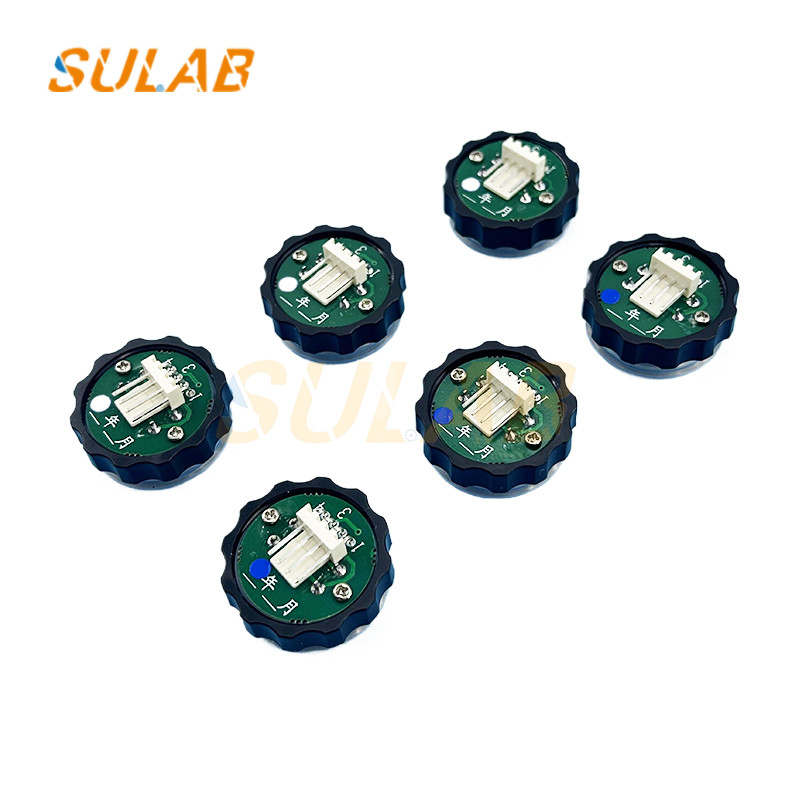
Connect wires
Cut off the power supply: Before connecting the wires, the power supply of the elevator system must be cut off to ensure safe operation. A warning sign can be set at the power switch to prevent others from closing the switch by mistake.
Connect the button wires to the system interface: Connect the button wires to the corresponding interfaces of the elevator system. Usually, the button wires will have different color markings, such as red for live wires and black for neutral wires. Connect them correctly according to the corresponding relationship.
Fix the wires: Use insulating tape or terminal blocks to fix the wires to ensure a firm connection to prevent the wires from loosening or falling off. At the same time, pay attention to avoid squeezing or abrasion of the wires.
Check the connection: After the connection is completed, check again whether the wires are firmly connected, whether there are any missing or wrong connections, and use tools such as multimeters to test whether the circuit is conductive.
| Brand | SULAB |
| Description | Elevator button |
| Model | BR27C |
| MOQ | 1PC |
| Transportion | TNT, UPS, DHL, Fedex, Air, Sea |
| Applicable | Elevator |
| Packages | Carton, Wooden case, Pallet etc |
| Delivery Time | Normally 2-3 working days after payment |
| Warranty | One year |
| Payment Method | Company Bank, Western union, alibaba, Paypal etc |
Function:
Destination floor selection button: installed in the elevator car, usually arranged in vertical or horizontal rows, with the corresponding floor number marked on each button. After entering the elevator, the passenger presses the corresponding floor button according to the floor he wants to reach. After receiving the signal, the elevator control system will run the elevator to the designated floor.
Out-of-hall call button: installed on both sides of the elevator entrance and exit on each floor, divided into up call button and down call button. The up button is usually indicated by an upward arrow, and the down button is indicated by a downward arrow. When the passenger is waiting for the elevator on the floor, press the corresponding call button according to the direction he wants to go. The elevator control system will arrange the elevator to stop at that floor and open the door according to the position of the car and the direction of operation.
Our products are sold all over the world, you can rest assured.