-
Highlight
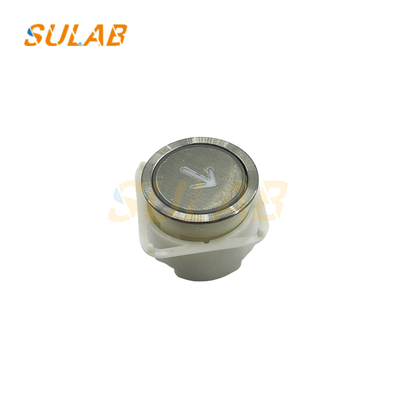
elevator braille button flat edges
,elevator spare parts with warranty
,A4N11522 elevator button braille
-
ItemElevator Parts
-
BrandSULAB
-
ModelA4N11522
-
MOQ1PC
-
TransportionTNT, UPS, DHL, Fedex, Air, Sea
-
PackagesCarton, Wooden Case, Pallet Etc
-
Delivery TimeNormally 3-5working Days After Payment
-
WarrantyOne Year
-
Payment MethodCompany Bank, Western Union, Alibaba, Paypal, Personal Bank Etc
-
Brand NameSULAB
-
Model NumberA4N11522
-
Minimum Order Quantity1PC
-
Delivery TimeNormally 3-5working days after payment
-
Payment TermsL/C,D/P,D/A,T/T,Western Union,MoneyGram
SULAB A4N11522 Elevator Braille Button with Flat Edges

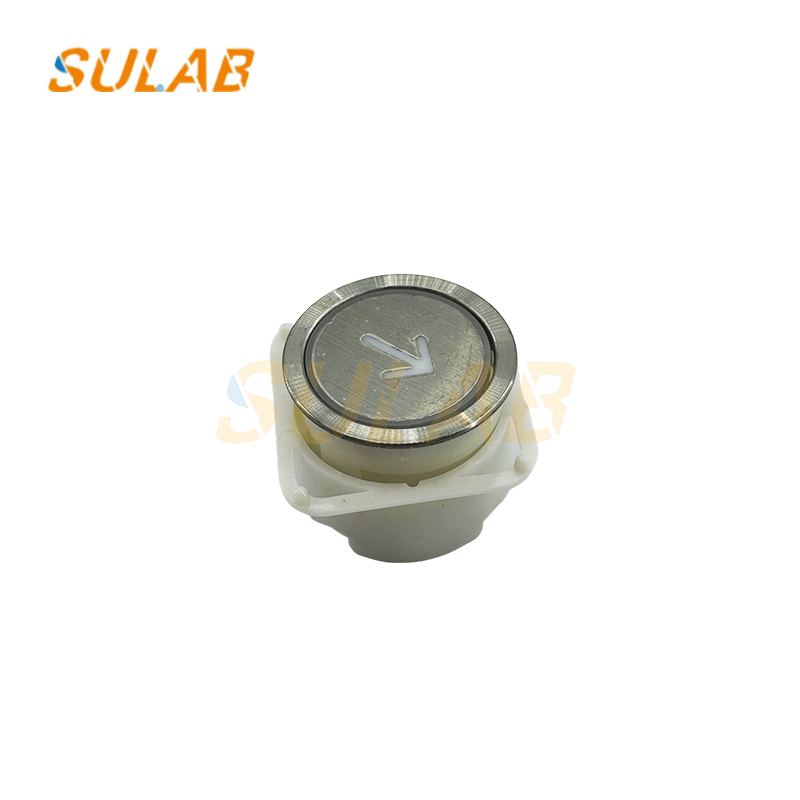
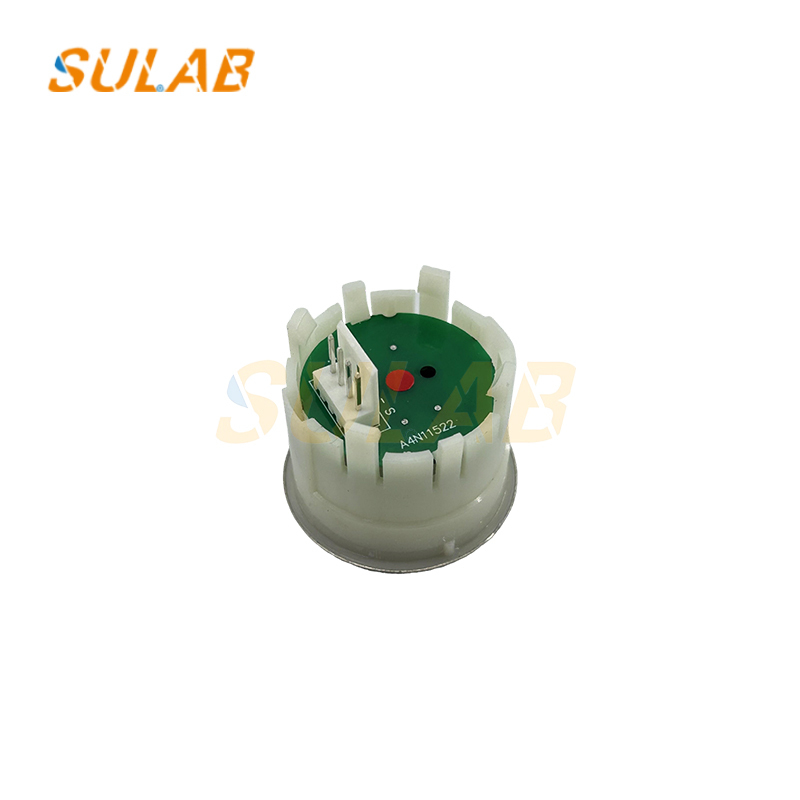
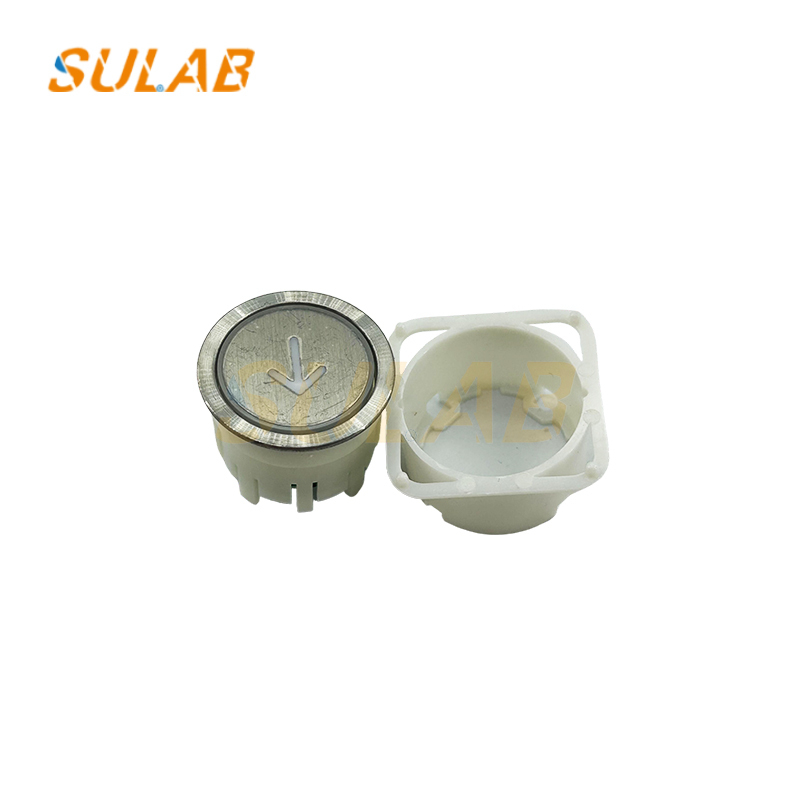
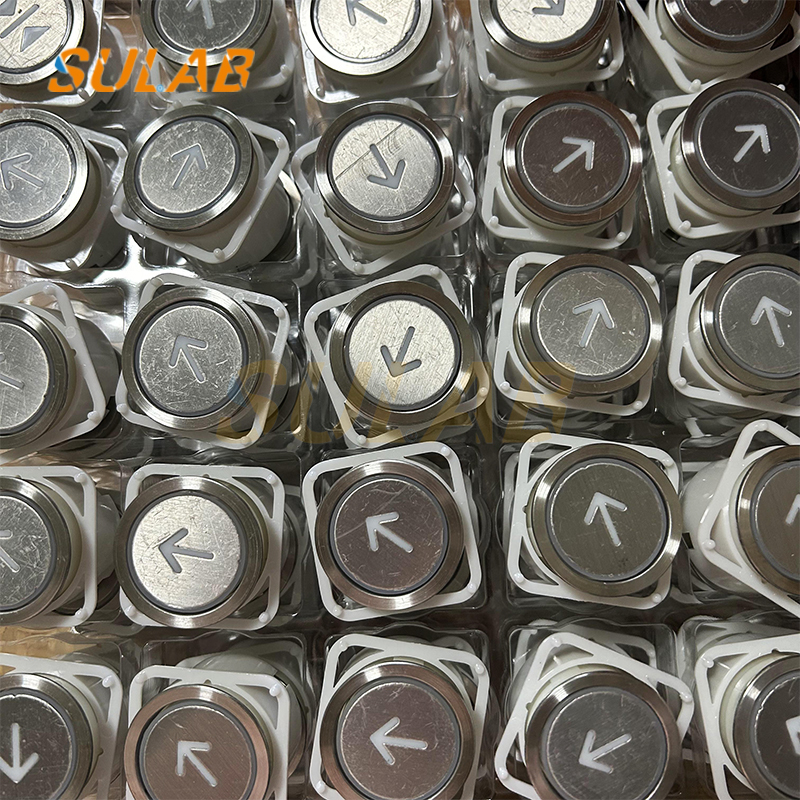
Factory Direct Sales Of Elevator Parts With Braille Elevator Parts, Elevator Spare Parts, Round Buttons With Flat Edges A4N11522
By Application
Start/Stop Button: Commonly used in industrial equipment, start buttons are often green (normally open), while stop buttons are often red (normally closed).
Emergency Stop Button: This red mushroom-shaped button protrudes from the panel, allowing for quick, emergency operation. It is commonly used on equipment such as elevators, machine tools, and cranes to ensure safety.
Control Button: Used for switching functions, such as remote control buttons and instrument adjustment buttons.
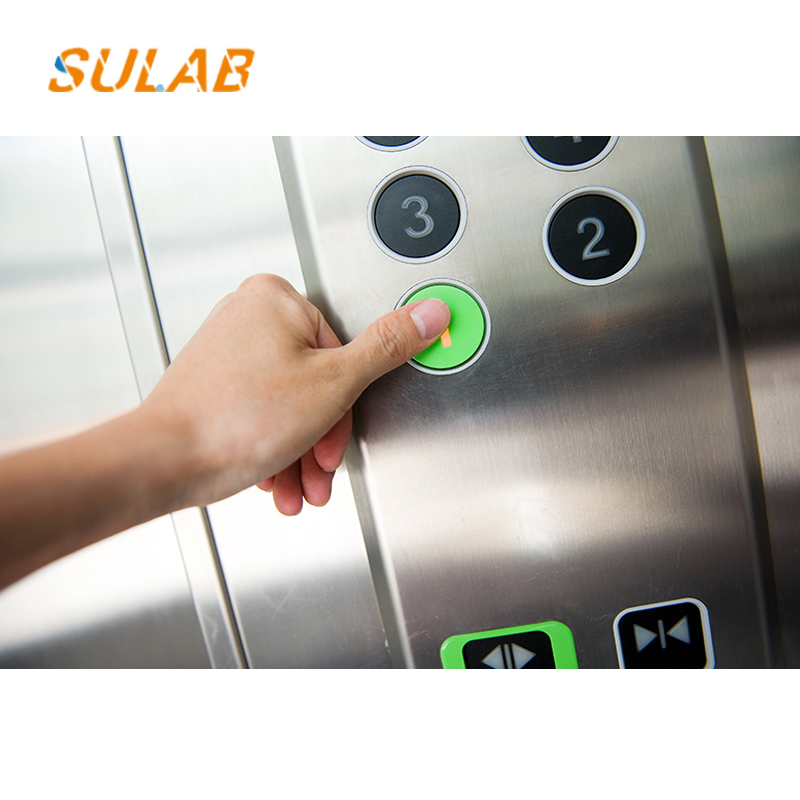
Access Control Button: Examples include elevator door open/close buttons and access control system door open buttons.
| Item | Elevator parts |
| Brand | SULAB |
| Model | A4N11522 |
| MOQ | 1PC |
| Transportion | TNT, UPS, DHL, Fedex, Air, Sea |
| Packages | Carton, Wooden case, Pallet etc |
| Delivery Time | Normally 3-5working days after payment |
| Warranty | One year |
| Payment Method | Company Bank, Western union, alibaba, Paypal, Personal bank etc |
Securing the Button to the Panel
Thread the wired button base through the mounting hole from the back of the panel, adjusting the button's orientation (ensure the logo/number on the button cap faces outward).
Use the provided retaining nuts or screws to secure the button base from the front or back of the panel, ensuring the button is securely installed without any looseness. (Apply even pressure to avoid damaging the panel or button housing.)
Use a level to check the flatness of the button. When installing multiple buttons side by side, ensure consistent spacing and height alignment (typically within 1mm). This improves aesthetics and ease of use.
Our products are sold all over the world, you can rest assured.