SULAB XAA25140AFB Elevator Outbound Display Board for Parallel Systems
-
Highlight
elevator outbound display board
,parallel system elevator display
,elevator spare parts display
-
BrandSULAB
-
DescriptionElevator Parts
-
ModelXAA25140AFB
-
MOQ1PC
-
TransportionTNT, UPS, DHL, Fedex, Air, Sea
-
ApplicableElevator
-
PackagesCarton, Wooden Case, Pallet Etc
-
Delivery TimeNormally 2-3 Working Days After Payment
-
WarrantyOne Year
-
Payment MethodCompany Bank, Western Union, Alibaba, Paypal Etc
-
Brand NameSULAB
-
Model NumberXAA25140AFB
-
Minimum Order Quantity1PC
-
Delivery TimeNormally 2-3 working days after payment
-
Payment TermsL/C,D/A,D/P,T/T,Western Union,MoneyGram
SULAB XAA25140AFB Elevator Outbound Display Board for Parallel Systems


Original New Elevator Lift PCB Accessories Lop Display Board Elevator Outbound Display Board XAA25140AFB
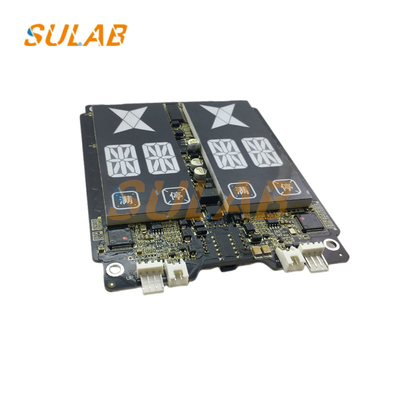
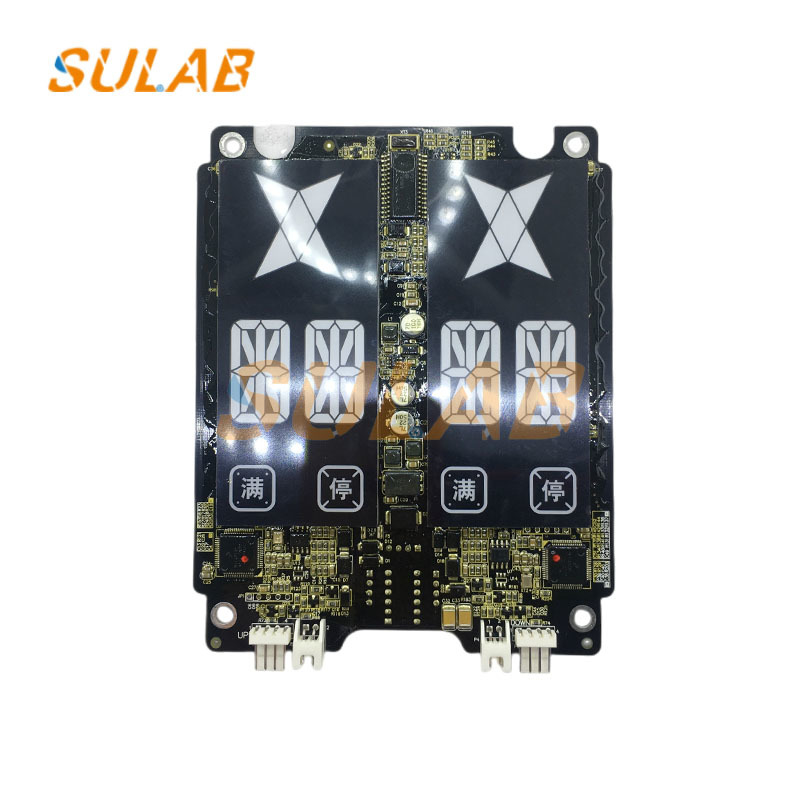
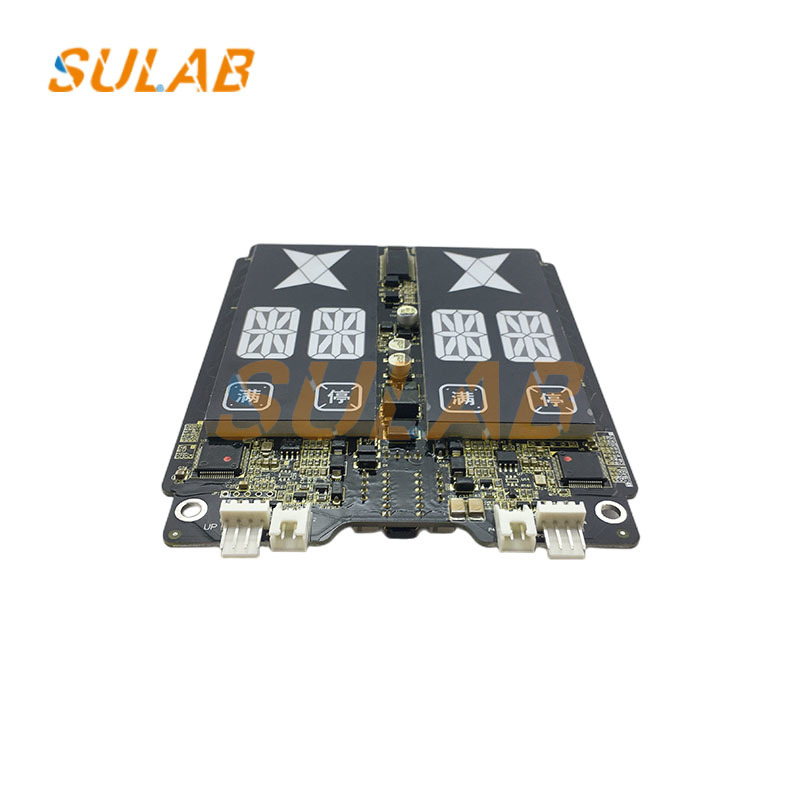
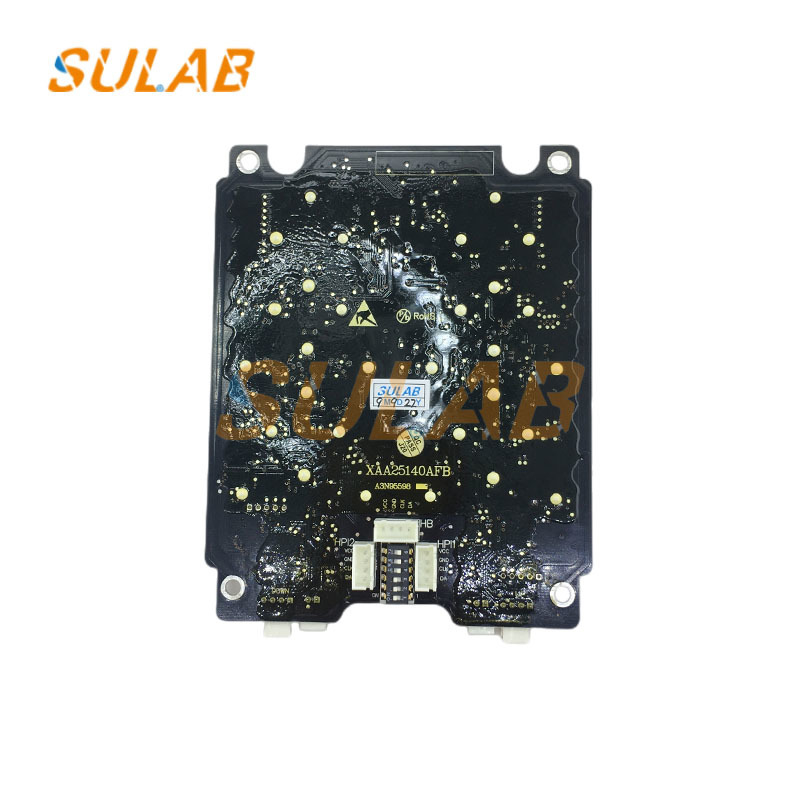
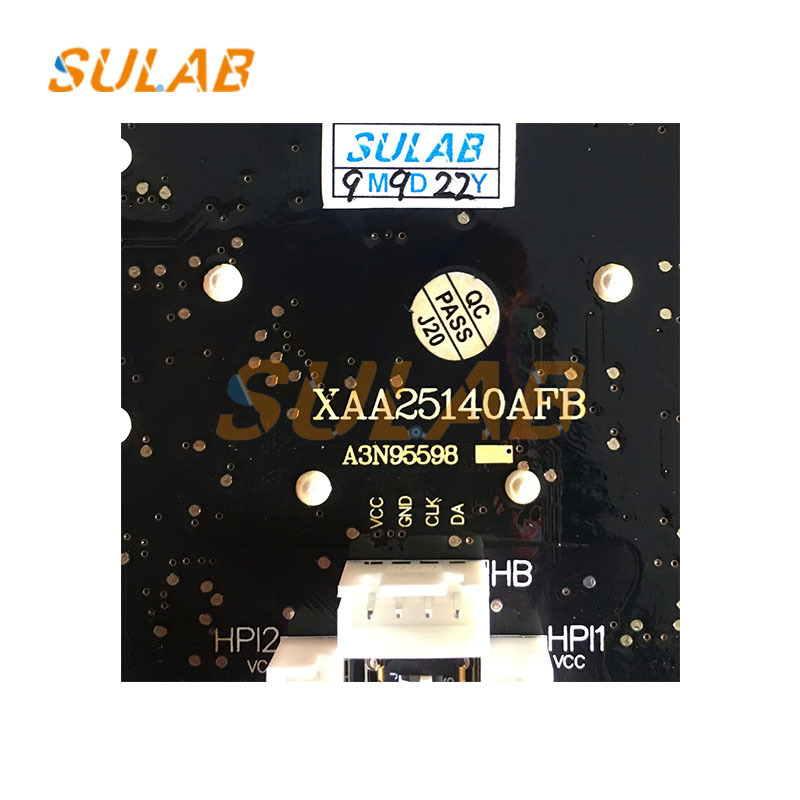
Brand and Model: This display panel is OTIS, model XAA25140AFB, and belongs to the HBP16 series of hall call display panels.
Application: Primarily suitable for parallel elevator systems, it can be installed outside the elevator hall door to display information such as the elevator's current operating status and floor location, and provide a call button for passengers to call the elevator.
Functional Features: It operates by receiving passenger call signals via button inputs, processing them through a microcontroller (MCU), and transmitting them to the elevator's main controller via a communication interface. It also receives data from the main controller to update the display, such as the current elevator floor and direction of travel.
Appearance: The display panel is a black circuit board with an LED digital tube or dot matrix display to display floor numbers and direction arrows, as well as the call button pressed by the passenger and related circuit components.
| Brand | SULAB |
| Description | Elevator parts |
| Model | XAA25140AFB |
| MOQ | 1PC |
| Transportion | TNT, UPS, DHL, Fedex, Air, Sea |
| Applicable | Elevator |
| Packages | Carton, Wooden case, Pallet etc |
| Delivery Time | Normally 2-3 working days after payment |
| Warranty | One year |
| Payment Method | Company Bank, Western union, alibaba, Paypal etc |
Preparation: Confirm that the elevator model to be installed matches the hall call display panel. This can be done by comparing the elevator's drawings or model numbers. Prepare the hall call panel and its accessories, such as screws and fasteners. Also prepare basic tools like a screwdriver and electric drill, as well as measuring tools like a tape measure. Ensure the elevator shaft is clear of obstructions that could hinder installation.
Determine the installation location: According to the elevator's design drawings or installation guide, the hall call panel is typically installed next to the elevator hall door, 1.2-1.4 meters above ground level, with the panel edge 200-300 mm from the landing door edge. For group-controlled elevators, the call panel should be installed between two elevators. Consider ease of use, safety, and aesthetics, and avoid installation in locations prone to collision.
Pre-drilling: Use a measuring tool to mark the mounting holes for the hall call panel, then pre-drill with an electric drill. Pay attention to the hole depth and diameter to ensure the screws can securely secure the hall call panel.
Securing the hall call panel: Place the hall call panel in the pre-drilled holes and secure with screws. When tightening the screws, use a level to help keep the hall call panel perpendicular to the wall to ensure smooth installation.
Connection Wiring: The XAA25140AFB hall call panel requires a communication cable. We recommend using Otis dedicated communication cables to ensure stable signal transmission. Connect the panel correctly according to the manufacturer's instructions, ensuring the connectors are secure and free of looseness. If the hall call panel requires an external power supply, connect the power cable. Always disconnect the elevator power supply before connecting, and ensure proper insulation.
Functional Testing: After installation, restore the elevator power supply and perform multiple tests. Press the up and down call buttons to check for a response. Also, check that the floor display is functioning properly and any fault alarms are present. If any issues are detected, immediately troubleshoot the wiring or recheck the installation procedures.
Our products are sold all over the world, you can rest assured.